
DrayDDNS is a free DDNS service provided for every Vigor Router. Each device can register one hostname under the drayddns.com domain. The hostname works with all WAN interfaces and only needs to be renewed once every two years. This article demonstrates how to configure DrayDDNS on the router.
1. Before activating the DrayDDNS service, ensure the Vigor Router can connect to the Internet.
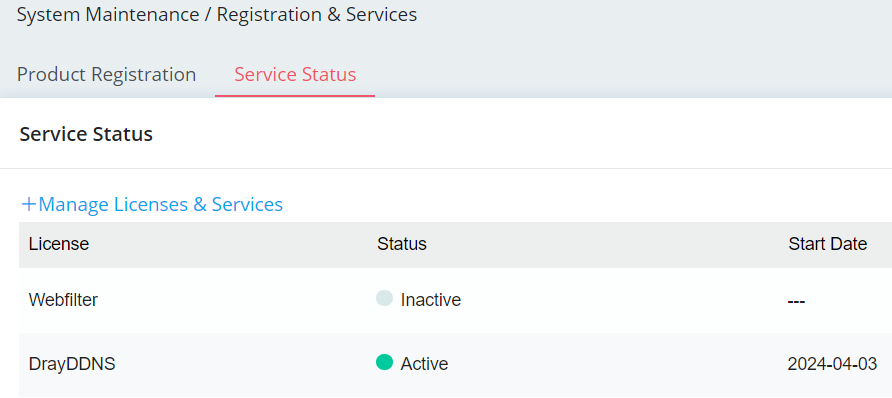
2. Go to System Maintenance >> Registration & Services.
Select the Service Status tab Click + Manage License & Services 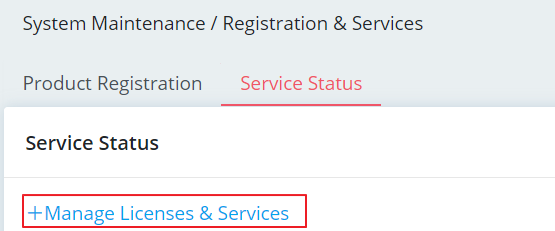
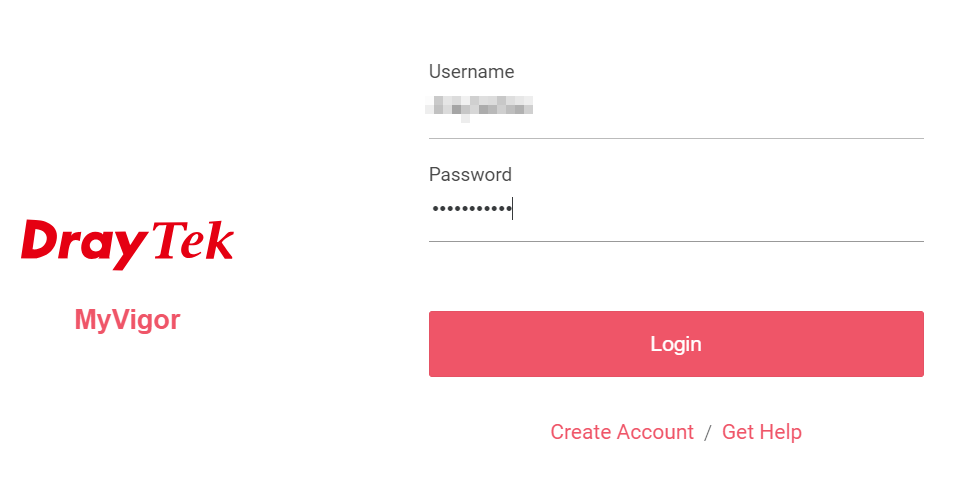
3. This will take you to the login page for MyVigor. Enter your MyVigor credentials to sign in. Check if the browser blocked the pop-up window if you do not see the web page.
Note: The router must be registered to a MyVigor user account before activating the DrayDDNS service. If you do not have one, please register one before continuing.
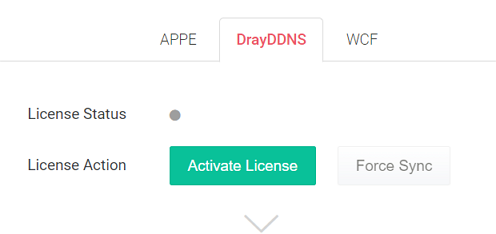
4. Go to the DrayDDNS tab and click Activate License.
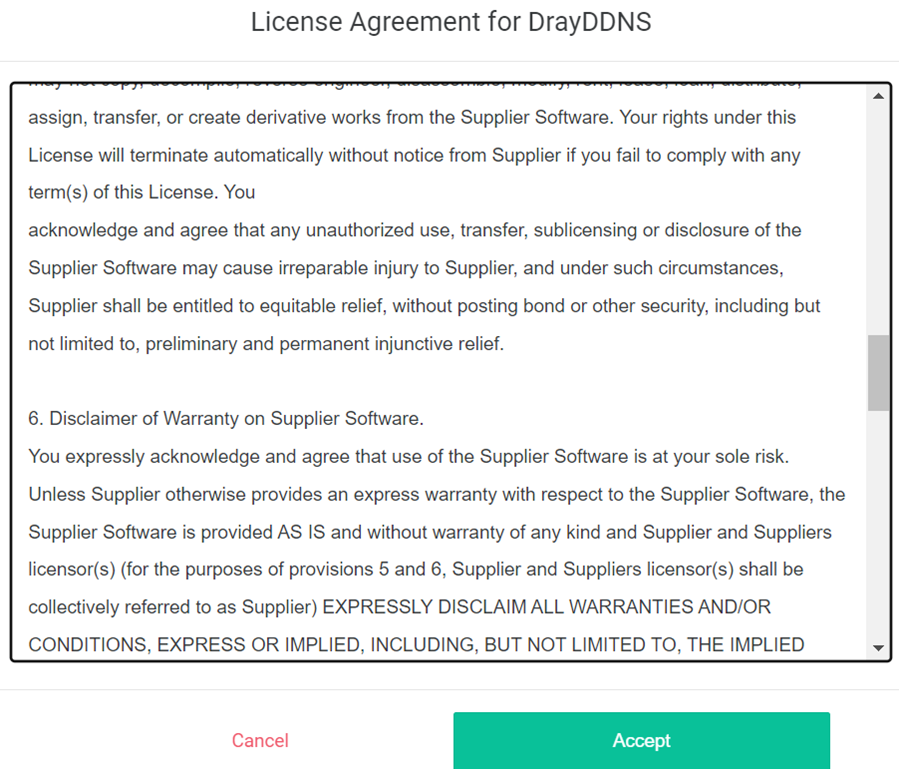
5. Read the License Agreement and click Accept.
- Select a start date for the DrayDDNS license.
- Click Next to continue.
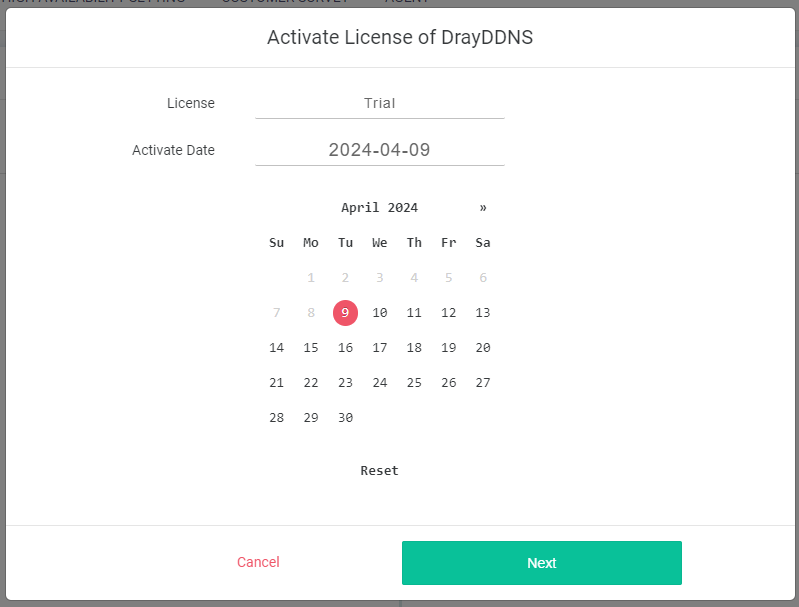
- Click on Activate to activate the DrayDDNS license.
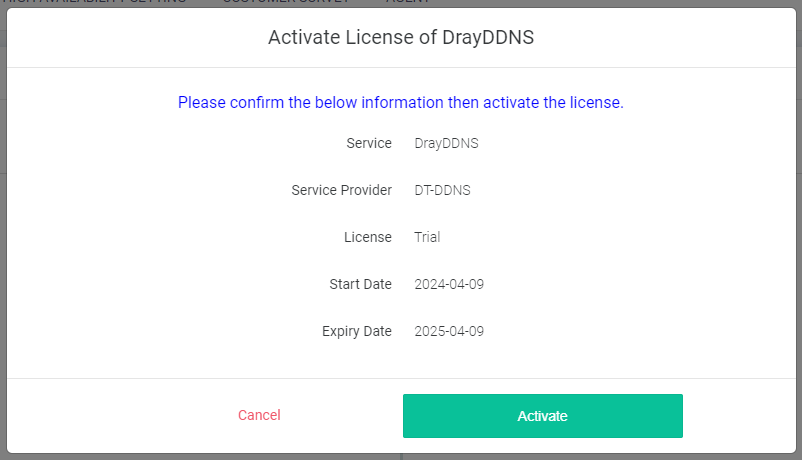
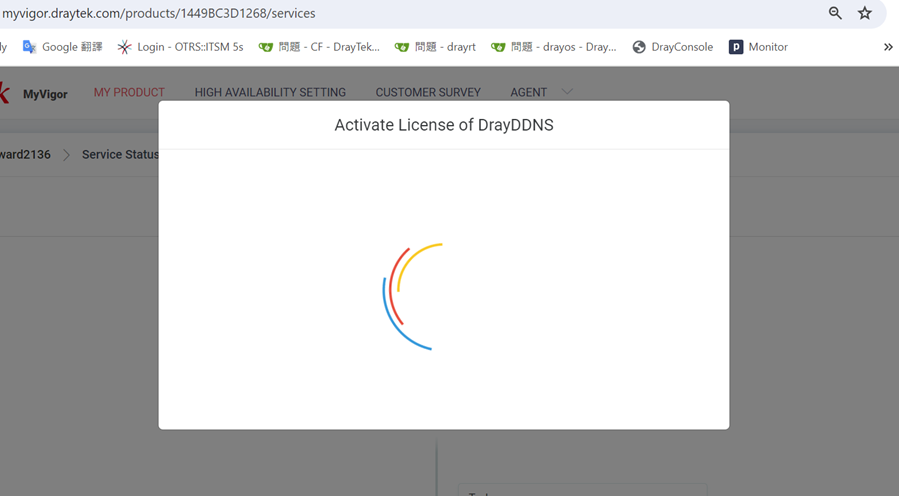
6. The DrayDDNS License activation process is ongoing
7. The DrayDDNS license is generated for the router when the Service Status is displayed, as shown below.
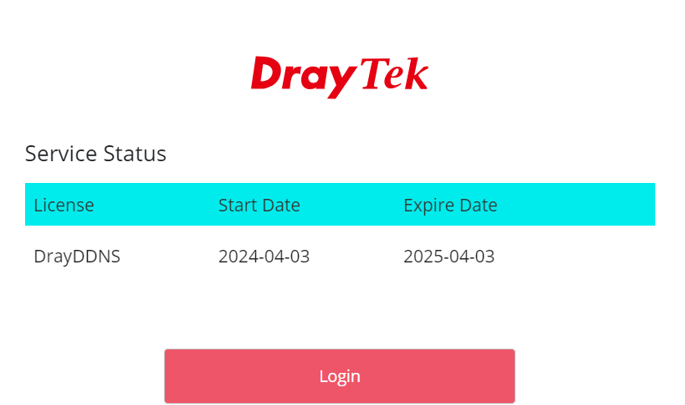
8. Click Login to log into the Vigor2136.
- Go to System Maintenance >> Registration & Services
- Select the Service Status tab, and the DrayDDNS license status will be displayed here.
- Click + Manage License & Services to log in to MyVigor again to configure the DrayDDNS domain name.
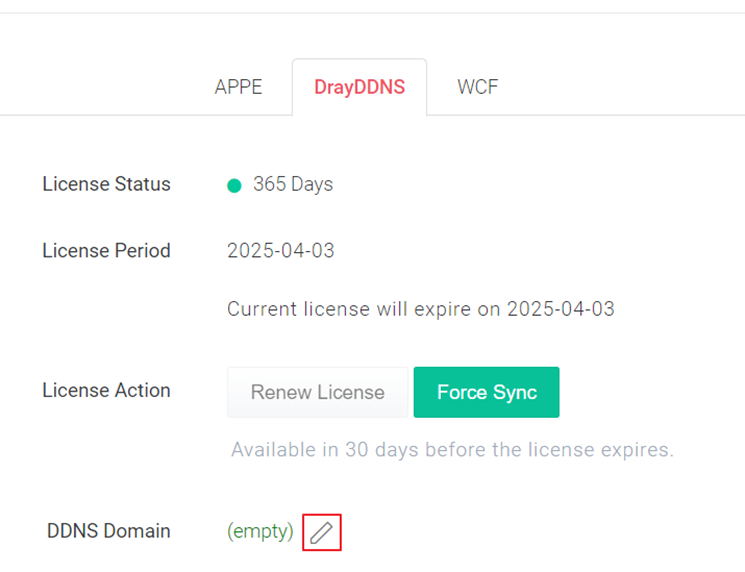
9. Log in to MyVigor and move to the DrayDDNS tab.
- Click the pen icon to Edit the domain name.
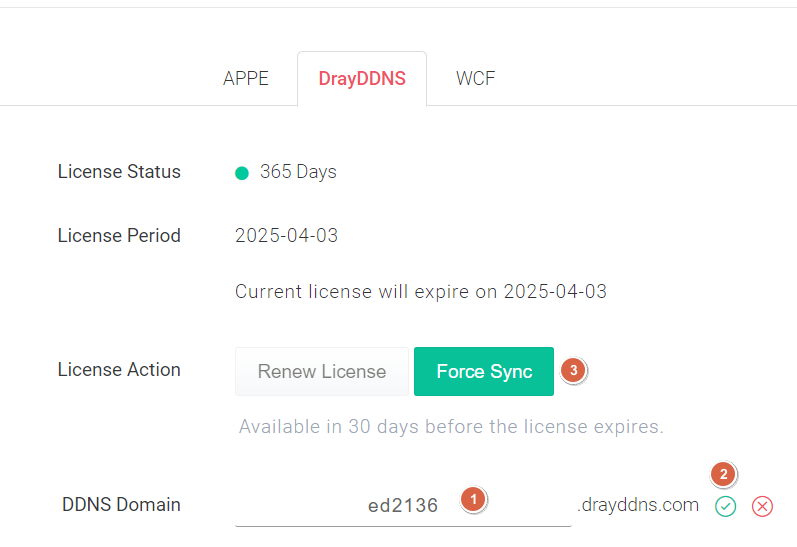
- Enter the domain name and click on the icon to save.
10. Click Force Sync. MyVigor will push the Domain Name info to the Vigor Router.
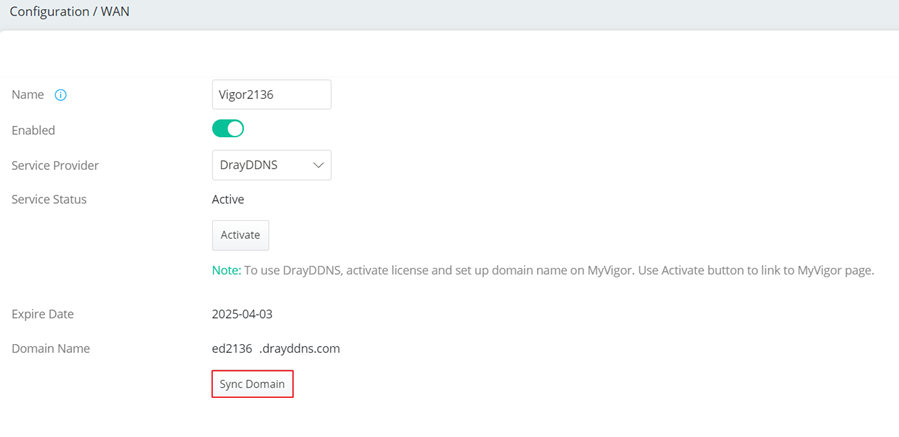
11. Go to Configuration / WAN,
- In the Dynamic DNS tab, click +Add to create a DDNS profile.
- Give the profile a name
- Select Enabled
- Select DrayDDNS as the provider and click Sync Domain to get the Domain Name from MyVigor
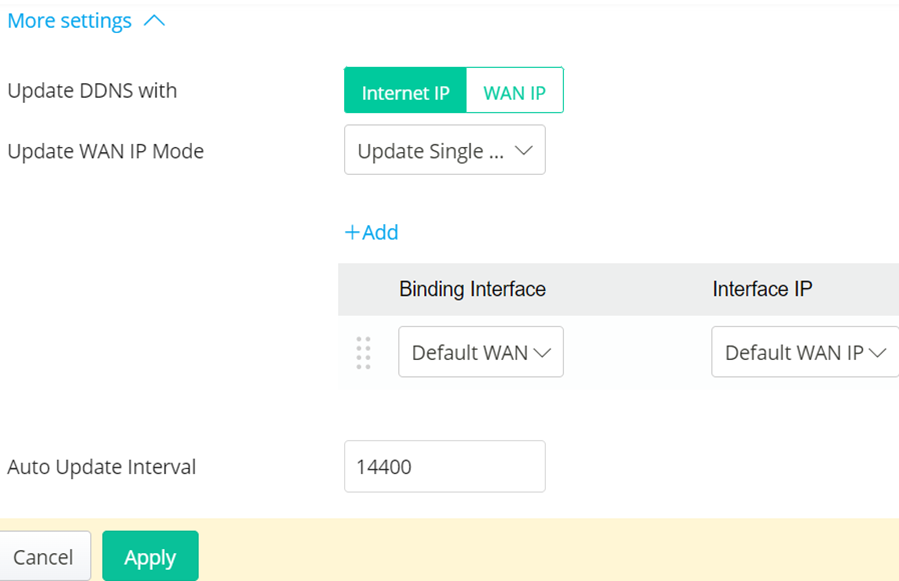
12. Click “More settings” to configure the WAN used and the IP address for the DrayDDNS profile, and click Apply to save the settings.
- Update DDNS with Internet IP: Use when your router is behind a NAT device.
- Update DDNS with WAN IP: Use when your router is connected to the Internet directly and has a public WAN IP on its WAN.
- Update WAN IP mode
- Update Single WAN IP by sequence: Use when you want the domain to be updated with one WAN simultaneously.
- Update All selected WAN IPs: This option is used when you want the domain name to be updated simultaneously with more than one WAN.
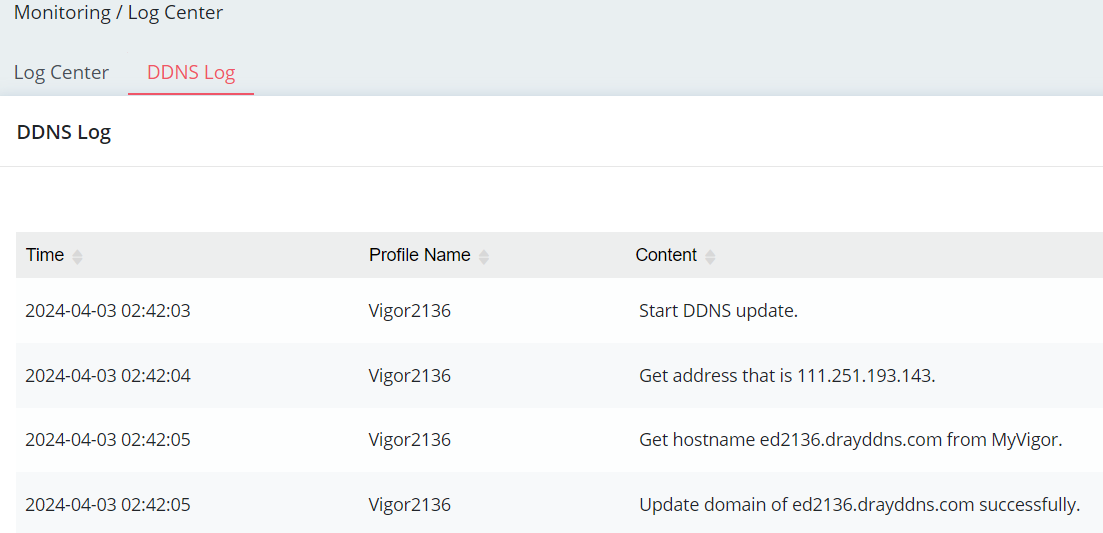
13. Go to Monitoring / Log Center, Under the DDNS Log tab, check if the router has updated the DDNS successfully.
Comments
0 comments
Article is closed for comments.